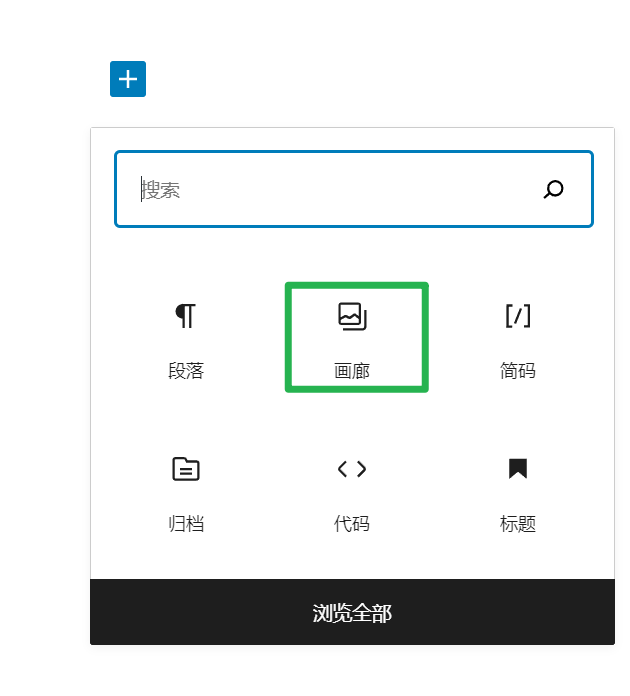
WordPress默认的Gutenberg编辑器自带的Gallery图集很好用,美中不足的是查看大图比较麻烦,如果有lightbox灯箱效果,点击图片就展示大图,不用离开当前页,点点左右箭头就能继续看其它图片,岂不美哉。大家都喜欢看图,全用大图占地方,用小图看不清,图集+灯箱效果可以完美化解这个矛盾。
默认编辑器增加灯箱效果
为啥要用默认编辑器?那必须是懒,你想啊,要是装别的插件,哪天作者不维护了,你怎么办?换插件?对不起,格式不兼容,你需要更改旧数据来兼容新格式,饶了我吧。
而默认编辑器是WordPress官方维护的,就算它要更新HTML结构,也不会轻易打脸,一定会兼容旧的格式,或者给你个简单的升级方法。如果HTML结构变化过大,更新一下js脚本就行了,这可比转换数据简单的多。
废话不多说,先看效果。


代码
这个效果用到了两个js库,分别是Justified Gallery和SimpleLightbox,我们只需要引入引入它们的js和css文件,把gallery的HTML结构处理成这俩货需要的样子,再初始化一下就行了。
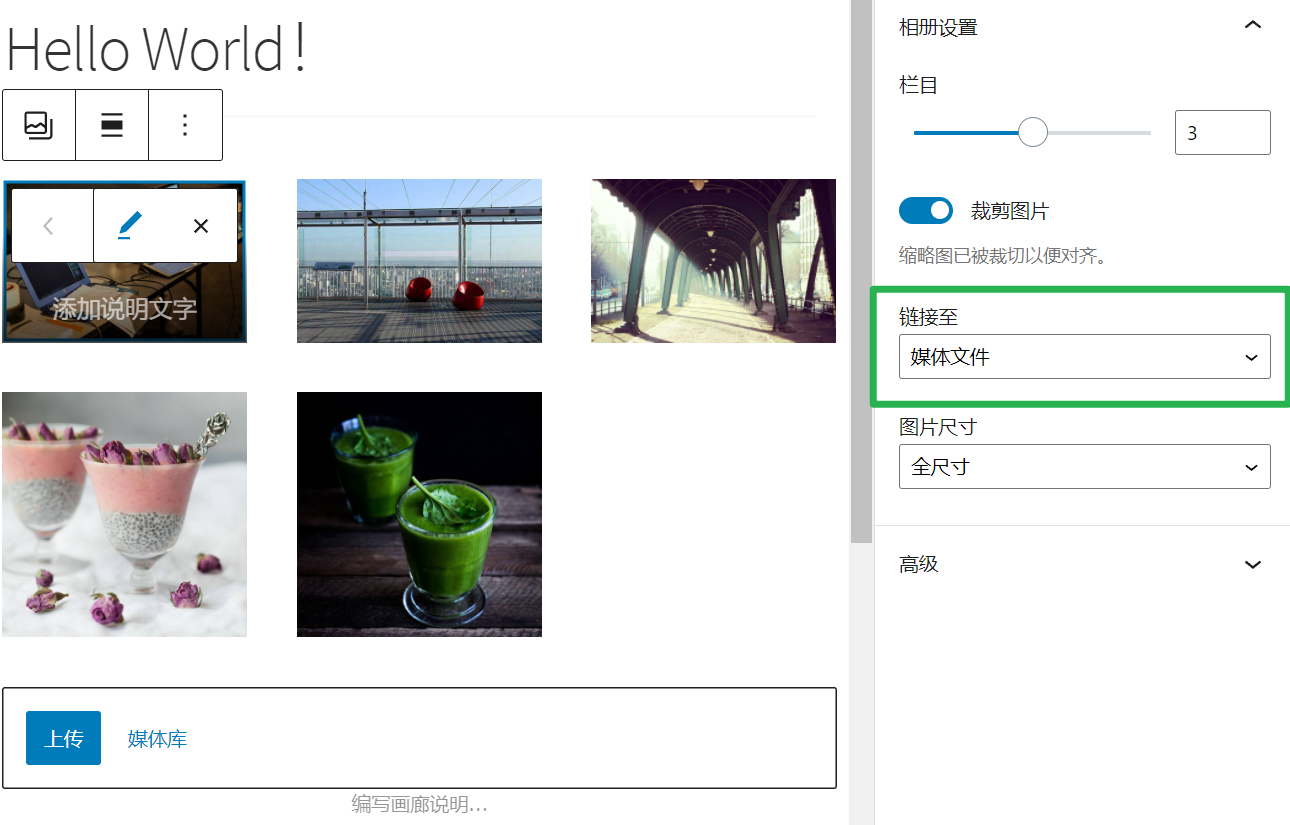
注意:一定要选择让gallery的图片链接到媒体文件,否则该脚本会罢工。
<?php
// Exit if accessed directly.
defined('WPINC') or exit;

add_action( 'wp_enqueue_scripts', 'sola_justified_gallery_enqueue' );
function sola_justified_gallery_enqueue(){
    wp_enqueue_script( 'justified-gallery', get_stylesheet_directory_uri() . '/plugins/justified-gallery/jquery.justifiedGallery.min.js', array('jquery') );
    wp_enqueue_style( 'justified-gallery', get_stylesheet_directory_uri() . '/plugins/justified-gallery/justifiedGallery.min.css' );
    wp_enqueue_script( 'simple-lightbox', get_stylesheet_directory_uri() . '/plugins/justified-gallery/simple-lightbox.jquery.min.js' );
    wp_enqueue_style( 'simple-lightbox', get_stylesheet_directory_uri() . '/plugins/justified-gallery/simple-lightbox.min.css' );

}
add_action( 'wp_footer', 'sola_convert_default_gallery_to_lightbox' );
function sola_convert_default_gallery_to_lightbox(){
    ?>
<script>
    window.addEventListener('DOMContentLoaded', function(){
        if ( typeof(jQuery) !== 'undefined' ){
            jQuery(function($){
                const $galleries = $('.wp-block-gallery');

                if( ! $galleries.length || ! $galleries.find('a').length ){
                    return;
                }

                initJustifiedGallery();

                function initJustifiedGallery(){
                    $galleries.each(function(){
                        const $gallery = $(this);

                        if( canConvert($gallery) ){
                            const $converted = DefaultGalleryToJustified( $(this) );
                            $converted.justifiedGallery({
                                rowHeight : 160,
                                margins : 10,
                                lastRow: 'justify'
                            }).on('jg.complete', function () {
                                $converted.find('a').simpleLightbox();
                            });
                        }
                    });
                }

                function canConvert( $gallery ){
                    const NumOfLinks = $gallery.find('a').length;
                    const NumOfImgs = $gallery.find('img').length;
                    return NumOfLinks && NumOfImgs && (NumOfLinks == NumOfImgs);
                }

                function DefaultGalleryToJustified( $gallery ){
                    $div = $('<div class="justified-gallery"></div>');
                    $gallery.find('a').appendTo($div);
                    $gallery.replaceWith($div);
                    return $div;
                }
            });
        }
    });
</script>
  <?php
}这段代码直接放到主题的functions.php里即可,自行下载代码里需要的文件,并保证了路径正确,我比较喜欢将每个功能单独放一个目录,php代码作为唯一入口单独存个文件,再从functions.php里require一下。
我一般会在页面需要这个功能时才加载,比如当前页面确实有gallery,那就用js异步加载用到的脚本和样式,这样性能会好一点。本文提供的代码就是简单的全站加载,你可以用WordPress conditional tags进一步限定加载范围。